| Page 6 | Modeling a Brachiosaurus: Completing The Mouth |
To help better define the mouth shape, an extra isoparm needs to be inserted close to the mouth opening. Use ‘InsertKnot’ command in the Front viewport, enter U to choose the U direction, and place the isoparm as shown below. (The two directions of the isoparms on a sphere, U and V, are similar to latitude and longitude. Selecting U is important if you are making a curve that will run around the head instead of end-to-end.)

Select the CV’s that were created and in the Right viewport use ‘Scale1D’ command. For ‘Origin point’, place the marker in the center of the head, and then place the ‘First reference point’ as shown below.
Move the marker up (hold Shift for a straight line) until the space in the mouth has been scaled taller, as shown below.

In order to close the opening in the front of the mouth, select the CV’s shown below and pull them downwards (use 'DynamicShadingPerspective' to help better view your work).

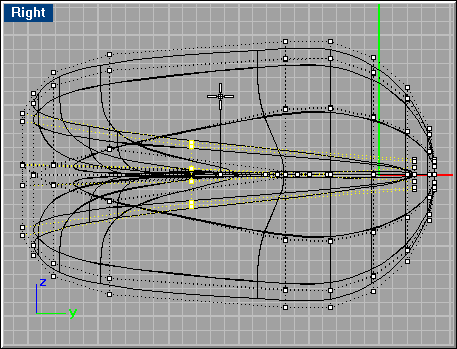
In the Right viewport, move the CVs to the left to achieve a more rounded end of the mouth.

Do the same with the equivalent CV’s in the lower jaw, so you get the results something like this:

Use ’DynamicShadingPerspective’ when editing CV’s. Insert isoparms in areas where you can’t get enough detail you want with the current number of isoparms. It is up to you how you want your head to look, so move CVs and insert isoparms as you see fit to customize and improve the modeling of the head. If you want to add a ridge along the top of the head, you will probably want to insert at least 2 or 3 isoparms near the back of the head, and then show points and drag them upwards.
The sample file ’brachio4.3dm’ from the CD-ROM shows a head modified after this step.
